designed for the way women work.
Learn to Make Paper Ornaments For the Holidays With Scissors and Glue
Category: How-To Projects, Presenting "The Curious Gardener"
I love making paper ornaments for decorating gifts or hanging on the tree, so I often check Pinterest for new ideas. I saw an idea recently that I liked. Click here to see the video. On the 3rd try I was happy with the results. It’s not difficult but you just need to know a few things to avoid the mistakes I made the 1st and 2nd time I tried it.
The craft of making paper ornaments is becoming more popular, and the ‘handmade paper decorations market’ is large and growing. Origami, developed in Japan, is the centuries old art of paper folding, but traditionally it does not involve scissors and glue.
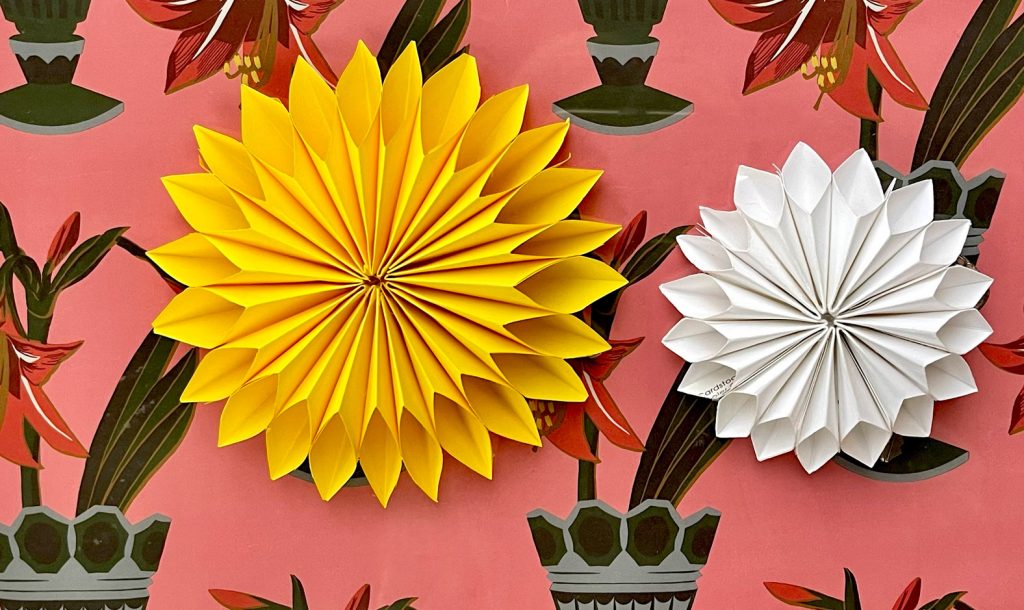
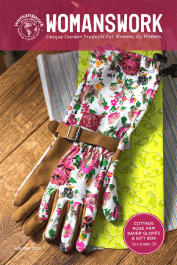
The beautiful paper behind my ornaments in the image here is made by Kate Blairstone, the artist who designed the print used for our Heirloom Garden line of products, including Arm Saver gloves, Bucket Hat, Apron and other items. Kate creates a line of wrapping paper each year and we always purchase some for our holiday gifts. I like to put my handmade paper ornaments on top!
I’ve posted two other ideas I like in prior years, here and here. Grab your glue stick or glue gun. I like using a glue gun because the glue dries so quickly, but either is fine.
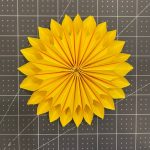
Here are my instructions, and the results are in the image above:
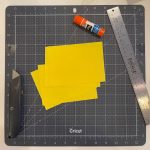
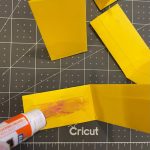
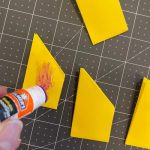
Step 1: Determine the diameter you want for your finished piece and cut paper to that length. The width should be about 2/3 of the length. So I cut my pieces 6″ long and 4″ wide. Important: cut at least 10-12 pieces. If you cut fewer than that you will have difficulty making this idea work. Select paper that is not too heavy. It should be about the weight of construction paper. Lightweight cardboard won’t work, I found out.
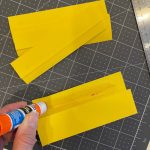
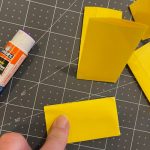
Step 2: Fold each piece of paper lengthwise in thirds. The first fold should be a little more than 1/3 of the width of the paper. Then fold the top piece down and glue it. Do this for all 10-12 pieces.
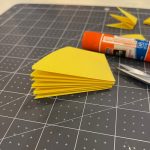
Step 3: Fold each folded strip in half. Glue the two sides together. Try to keep the glue towards the center of the piece lengthwise.
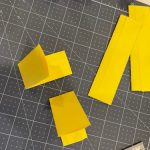
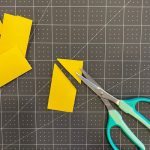
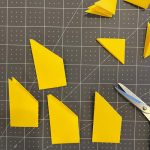
Step 4: Cut the corner off each folded end. Try to be consistent about cutting the same amount off each one.
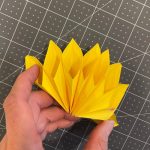
Step 5: Glue each of the folded pieces together, stacking them. Try to keep the glue towards the center of the piece lengthwise. This is most easily achieved with a glue gun but can be done with a glue stick too.
Step 6: Wait for the glue to dry completely and then pull the two ends towards the center, forming a circle. Put the final bit of glue between the last two pieces to close the circle.
I remember making paper chains in grade school. Your paper flowers are beautiful.
Oh what fun. I can see using this project for so many activities I’m asked to do decorations for.