designed for the way women work.

Grow Your Own Microgreens Indoors — It’s A Great Indoor Gardening Project!
Category: How-To Projects, Plant Ideas & Info, Presenting "The Curious Gardener"
Remember the adage that good things come in small packages? Let’s start with microgreens.
Scientists and nutritionists say that microgreens provide a denser source of nutrition than their mature selves. A study referenced on WebMD.com concluded that because they’re harvested right after germination, they still contain all the nutrients they need to grow.
The flavor packs an outsize punch too, and they are great sprinkled on salads, in sandwiches or as a garnish for soups.
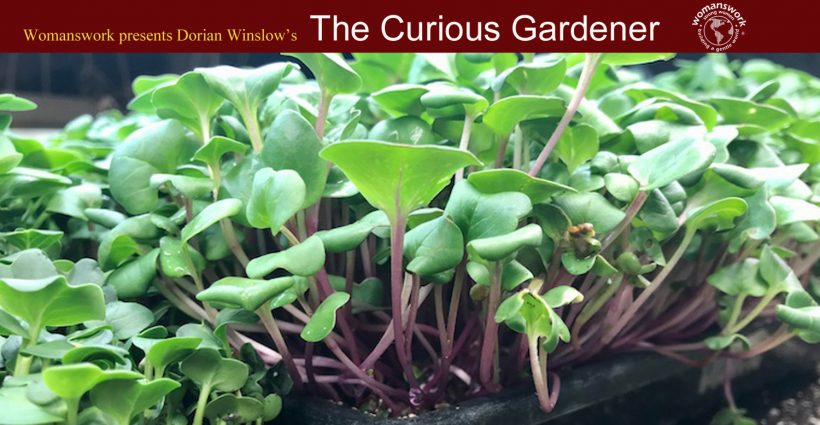
Microgreens are not the same as sprouts. Sprouts are newly germinated seeds that are harvested just as the seed begins to grow and before leaves develop. A sprout can grow in 3 days. Microgreens become microgreens only after the first leaves emerge. Sometimes they are harvested at the cotyledon stage (cotyledons are the first set of leaves to emerge on a plant) and sometimes after the first set of true leaves appears. True leaves emerge right after the cotyledons.
Growing Microgreens:
Select your seeds—If you’re being efficient you can purchase seeds packed by the pound, especially for growing microgreens. Several popular mail order companies, including Johnny’s Selected Seeds, sell them in this way. One of their most popular is a Radish confetti mix. It’s Organic. I’m going to order some of those.
Each crop has its own characteristics. Radish microgreens can add a spicy kick to salads; broccoli microgreens have a high concentration of minerals and have a mild cabbage flavor; peas are sweet and crunchy and taste like young snow peas; and sunflower microgreens make a great snack or salad on their own.
Sow your seeds—Fill a shallow container or tray with compacted, premoistened seed starting mix. Sprinkle seeds on top of the soil fairly densely. Tamp them down to ensure good soil to seed contact. Elizabeth Palmer of Dutchess Farm in Castleton, VT (formerly of Womanswork!) says they do not cover the seeds with soil when growing microgreens because it makes harvesting more difficult and dirty. They cover the trays with a dome and put them in a dark warm spot until the seeds germinate. When seedlings are about 1/2 to 1″ tall they move them, uncovered, to a sunny windowsill or grow light, and mist them. For more information on growing indoors with grow lights, click here.
Check seedlings often to be sure they don’t dry out and wilt. Usually you will have a crop you can harvest in under two weeks!
Harvest your greens –To harvest cut the stems just above the soil line with scissors. After an entire tray is harvested, if you want to reuse the soil just flip the tray over, top with some fresh soil if needed & start the seeding process over again. Elizabeth says “Microgreens use up a lot of the nutrients in the soil because the seeds are sown densely,” so for commercial growers like Dutchess every crop starts with cleaned trays and fresh potting soil. The ‘used’ trays are added to their greenhouses as extra fertilization.


Thank for this lesson on growing microgreens.
I just tried cantaloupe micro greens yesterday and they are sweet!