


This weekend I invited a friend over to try a "recipe" for cement troughs with me. She was game. We started at 9 am and we were finished by 10:30, with our creations tucked snugly in plastic bags to set overnight.


The next day I took the little troughs out of their molds and scratched marks into their surface to make them look more cement-y. Now these troughs will go back in their plastic bags for 4 weeks to "cure." Our recipe also suggests you leave them outdoors over the winter to leach out the free lime, which is bad bad bad for plants. Like with gardening itself, there is some instant gratification, but mostly there is waiting. We gardeners don't mind, do we?
I plan to do this again next weekend and I may try doing a few things differently. I will look for larger molds that are more like the traditional troughs. We are using the word trough loosely to refer to any cement planter that can hold little succulents and alpine plants that look so wonderful in them. The idea is to simulate a rock garden.
Here is the recipe I got at Oliver's Nursery, an outstanding garden center and nursery in Fairfield, CT.

Hypertufa Trough Recipe
1-1/2 parts coarse perlite
3/4 parts sieved peat moss
1 part Portland cement, type 1, light
Handful fibermesh (available at masonry supply stores)
Wheelbarrow
Small shovel or hoe
Appropriate molds
Thin, large plastic bags
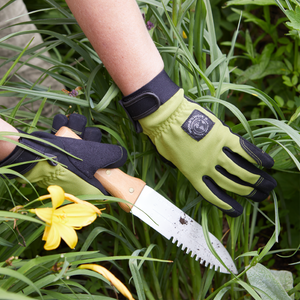
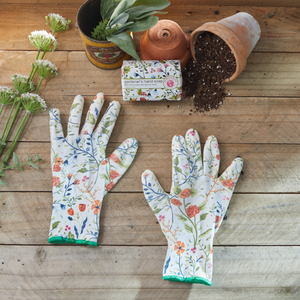
Womanswork gloves and dust masks
Wire brushes and other shaping tools
Mix dry ingredients thoroughly, making sure there are no pockets of individual ingredients. Add water slowly until mixture reaches the consistency of thick oatmeal. Water should be added a little at a time and mixed between additions. If the mix becomes too wet wait 15 minutes or so; the consistency may correct itself as the peat absorbs water. Or you may need to add more dry ingredients proportionately.
Troughs must be molded immediately after the hypertufa has been mixed; cement cannot wait! Line your mold with plastic, thin garbage bags work well. Try to minimize folds and creases. Use flexible molds.
Forming the trough. A handful at a time, begin patting the hypertufa inside your mold to form the bottom of the trough. Next build up the walls, carefully firming each new handful onto the last so that no weak spot develops. Try not to overwork the mixture. Too much kneading and patting changes the structure and wetness of the mix, causing walls to "slump." (editor's note: we patted ours to death and the walls did slump, but in the end I think it worked ok, so far.) Use finger to poke drainage holes in the bottom. Place entire mold into a large plastic bag to set up overnight. Do not allow it to freeze at this point.
(More instructions will follow....)

Find similar articles:
How-To Projects