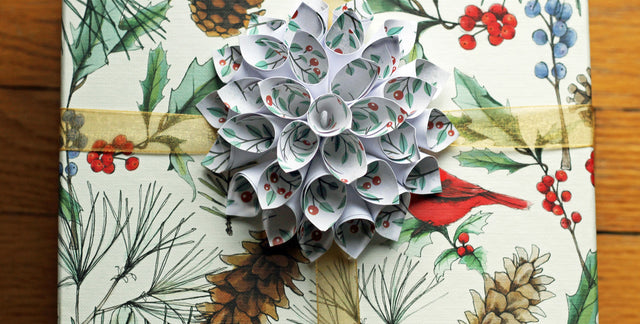

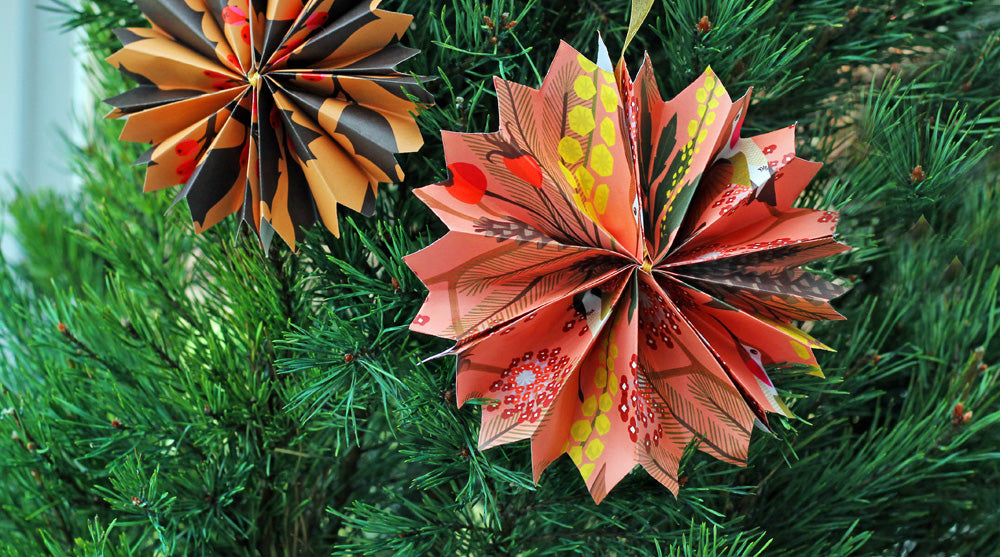
A friend sent me an email last week saying "you will love this" with a link to a website that shows how to make festive paper ornaments. I followed the instructions and added a few steps of my own, and here is my tutorial on making these pretty paper ornaments. My friend Amie Rennolds was right-- I love this!
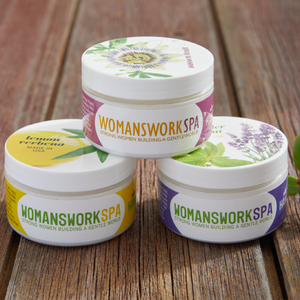
I used gift wrap that I had purchased from Kate Blairstone. Kate is the Oregon designer who created the "Heirloom Garden" print that we use on our Womanswork arm saver gloves, tote bag and soap. Click here to see her beautiful print for Womanswork. You can order gift wrap on her website.
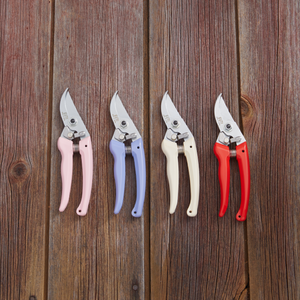
Step One: Gather your supplies, which include the paper you want to use for your ornaments; Womanswork Incomparable Scissors; glue stick or glue gun; and twine or ribbon for hanging. 
Step Two: Cut paper into rectangular sheets. You will need two sheets for each ornament. For the larger ornament I cut two pieces 7-1/2" X 10". For a smaller one I made later, I cut the paper to 5-1/2" X 7". 
Step Three: Fold each piece of paper in accordion pleats, folding along the shorter edge. 

Step Four: Fold each pleated sheet in half.
Step Five: Cut the ends at an angle. You can cut in a half circle for a different effect. 
Step Six: Tie a string or ribbon around the two pieces and knot it.
 My finished ornament!
Step Seven: Put glue along the flat edges of the 4 openings that need to join together to form a full circle when you fan them out. A glue stick will work, but I pulled out my glue gun for this one. Either way, use a clothespin to hold the pieces together as the glue dries.

To learn how to make paper dahlias click here for step-by-step instructions!