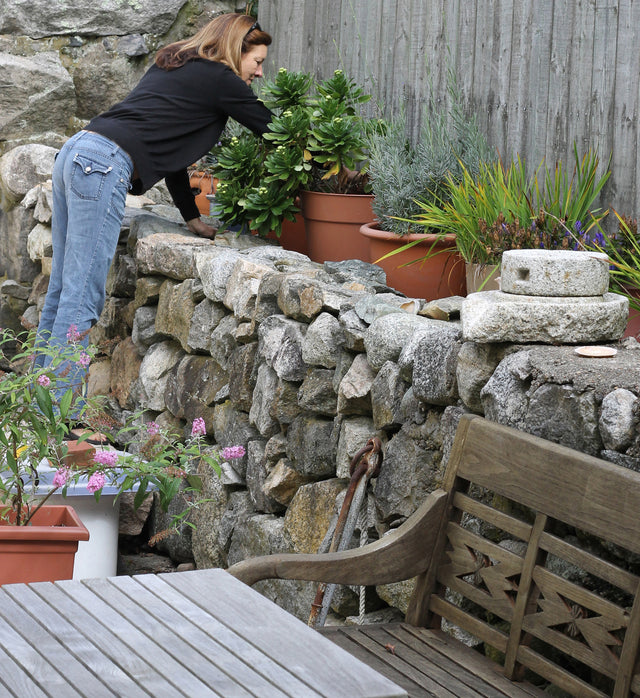


 Containers made at Stonecrop Gardens
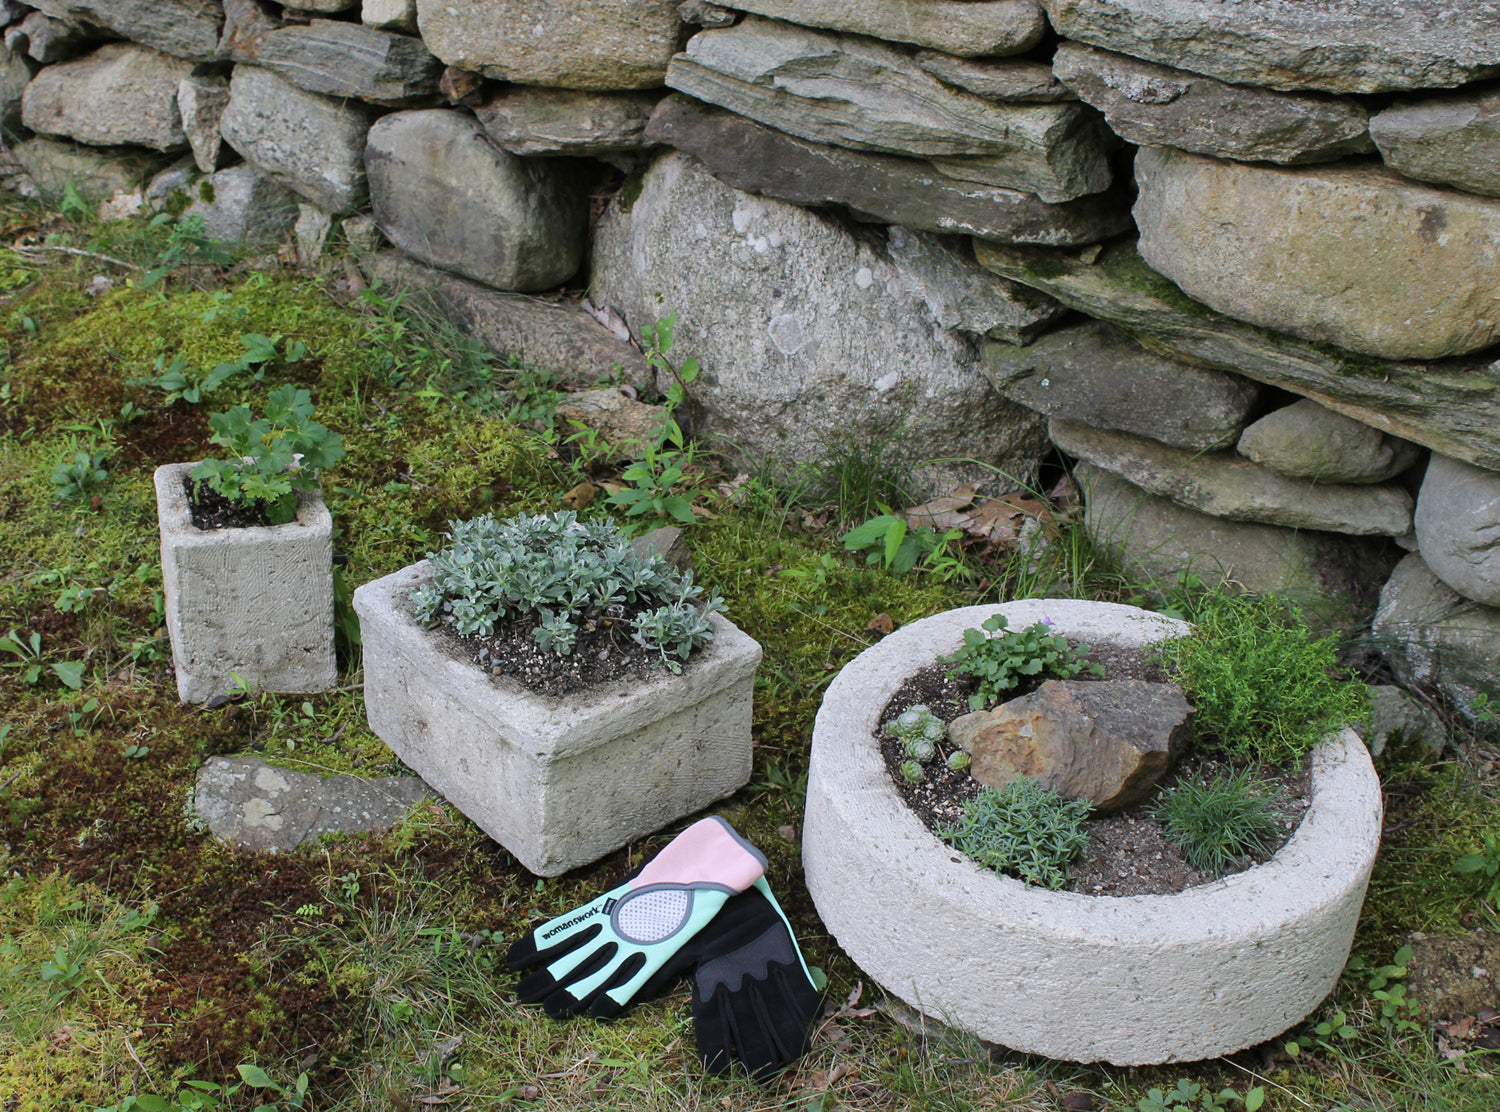
Hypertufa containers offer the perfect environment for succulents and alpine plants. They're porous and provide a good vessel for the arid, fast draining soil required by these types of plants. They also have an unmistakable charm if you're a pushover for anything made of stone or resembling stone!
What is hypertufa? Hypertufa is a manufactured substitute for natural tufa, which is a slowly precipitated limestone rock. Hypertufa is a man-made rock composed of various aggregates bonded together using Portland cement.
 Trough at Sissinghurst, England
When I was touring gardens in England I took this photo of a timeworn cement trough at Sissinghurst Gardens.
I have taken a workshop in trough making at Stonecrop Gardens in Cold Spring, NY, which has a rocky landscape that is home to many large, plant-filled cement containers. In the workshop we used wooden molds that have been in use for years.
 Using plastic cups as molds
Before taking the workshop at Stonecrop, I made some troughs at home using a recipe I got at Oliver Nurseries, an outstanding garden center in Fairfield, CT. I used plastic cups and bowls as molds, sometimes fitting a smaller one inside a larger one. It worked!
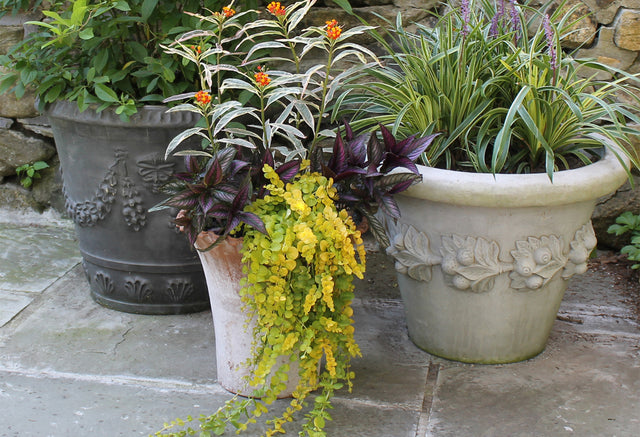
 Long container planted at Oliver's
Hypertufa Trough Recipe
1-1/2 parts coarse perlite
3/4 parts sieved peat moss
1 part Portland cement, type 1, light
Handful fibermesh (available at masonry supply stores)
Wheelbarrow
Small shovel or hoe
Appropriate molds
Thin, large plastic bags
Womanswork gloves and dust masks
Wire brushes and other shaping tools
Mix dry ingredients thoroughly, making sure there are no pockets of individual ingredients. Add water slowly until mixture reaches the consistency of thick oatmeal. Water should be added a little at a time and mixed between additions. If the mix becomes too wet wait 15 minutes or so; the consistency may correct itself as the peat absorbs water. You may need to add more dry ingredients proportionately.
Troughs must be molded immediately after the hypertufa has been mixed; cement cannot wait! Line your mold with plastic, thin garbage bags work well. Try to minimize folds and creases. Use flexible molds.
Forming the trough: A handful at a time, begin patting the hypertufa inside your mold to form the bottom of the trough. Next build up the walls, carefully firming each new handful onto the last so that no weak spot develops. Try not to overwork the mixture. Too much kneading and patting changes the structure and wetness of the mix, causing walls to “slump.” (editor’s note: we patted ours to death and the walls did slump, but in the end I think it worked ok). Use your finger or a piece of dowel to poke drainage holes in the bottom. Place entire mold into a large plastic bag to set up overnight. Do not allow it to freeze at this point.
Cement troughs cure for 3-4 weeks in plastic bags. After curing, let the troughs sit for several days or weeks outdoors to allow the free lime in the cement to leach out. It is harmful to plants. Click here to watch the You Tube video we made for How To Make a Trough.