


If you’re a gardener, you know that spring (and honestly, every planting season) starts with preparation. Before you reach for your favorite tools or slip on your Womanswork gardening gloves, there’s one simple task that makes a big difference:
Cleaning your plant pots before reusing them.
It’s easy to overlook—but reusing dirty pots can spread disease, weaken plants, and undo all your careful work in the garden.
You don’t need chemicals. A natural vinegar and water solution is all it takes.
Why Cleaning Garden Pots Matters
Even if your pots look clean, they can carry:
- Plant diseases and fungal spores
- Harmful bacteria from old soil
- Salt and mineral buildup
- Insect eggs are hiding in crevices
For gardeners who take pride in their planting—whether you're tending raised beds, containers, or a full cutting garden—this is one of the easiest ways to protect your investment.
Think of it as setting your plants up for success from the very beginning.

What You’ll Need
Before you begin, gather a few simple tools:
- White vinegar
- Water
- A bucket or garden tub
- A scrub brush or sponge
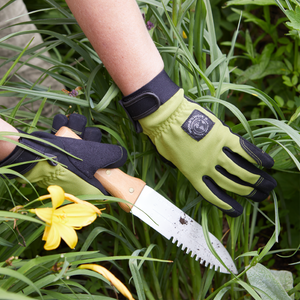
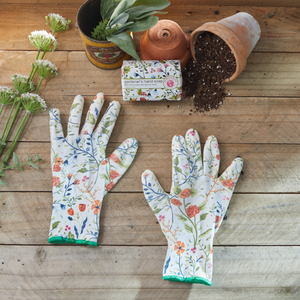
- Durable, comfortable gardening gloves for women (your hands will thank you)
If you’re working through a stack of pots, this is a perfect time to use your Womanswork tools and gear—designed to make everyday garden tasks easier and more enjoyable.
Step-by-Step: How to Clean Plant Pots Naturally
1. Empty and Prep Your Pots
Start by removing all old soil and plant debris.
Use your hands (gloved, of course) or a brush to loosen compacted dirt. This is where a good pair of protective garden gloves really shines—keeping your hands clean and comfortable while you work.
2. Mix a Natural Cleaning Solution
Combine:
- 1 part white vinegar
- 1 part water
This solution is a favorite among experienced gardeners because it’s effective, affordable, and eco-friendly.
3. Soak the Pots
Submerge your pots and let them soak for 20–30 minutes.
This step is especially important for:
- Terracotta pots
- Pots with white mineral buildup
- Frequently reused containers
4. Scrub Away Residue
After soaking, use a brush or sponge to scrub:
- Interior surfaces
- Drainage holes
- Pot rims and exteriors
With the vinegar solution loosening the buildup, this step becomes quick and satisfying.
5. Rinse Thoroughly
Rinse each pot well with clean water to remove any remaining residue.
6. Sun-Dry for a Fresh Start
Place pots in the sun to dry completely.
Sunlight not only speeds drying, but it also provides a natural boost of sanitation.
Find similar articles:
How-To Projects